


Okay, few more updates added in over the last little bit. We’ll start with the “big” one.
Boar Report Template
If needed, there is now a set weekly update template that is “select-and-go”. This does not change anything right now; it’s just there if wanted or needed.
So, why use it?
- It’ll fill in upcoming birthdays and anniversaries using a shortcode (more on that in a minute) automatically
- The prayer list is added automatically (also more in a minute)
- Categories and tags are pulled automatically (tags include the current year, if not found, it’ll create a tag for the year)
- Title is automatically set to the date of the post creation
- Toot to Mastodon is automatic
- You just fill in any updates and add any photos/galleries
Using the template
Starting a new post
I’ve made it easy to access the template from several spots. You can pull the template and post away from the admin bar, the posts page in the dashboard, or adding a post and selecting the block template (not the best way, I’ll explain why in a minute).
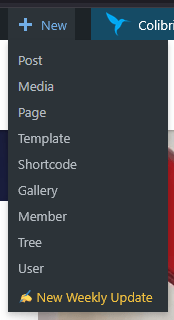
From the admin bar (if it’s enabled for your profile), drop down the “New” menu to add a new item and hit the “New Weekly Update” link.
Otherwise, from the posts menu in the dashboard, hit the button for the weekly update.

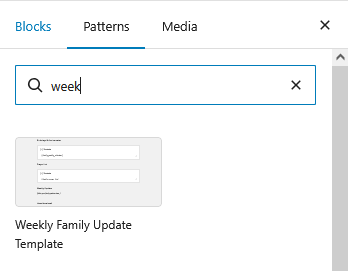
The last way is to hit the “+” icon in the general post page, then patterns, and search for the weekly template. This is not the best method, since it does not fire off the scripts that title the post or pull tags and categories in so you’ll have to do that manually. Otherwise, it pulls everything else in like normal.
Drafting a post
Once the template has loaded the only thing technically to fill out is the weekly updates. The post itself is divided into sections for birthdays, prayer requests, and weekly updates. Birthdays and prayer requests are automatically inserted into the post.
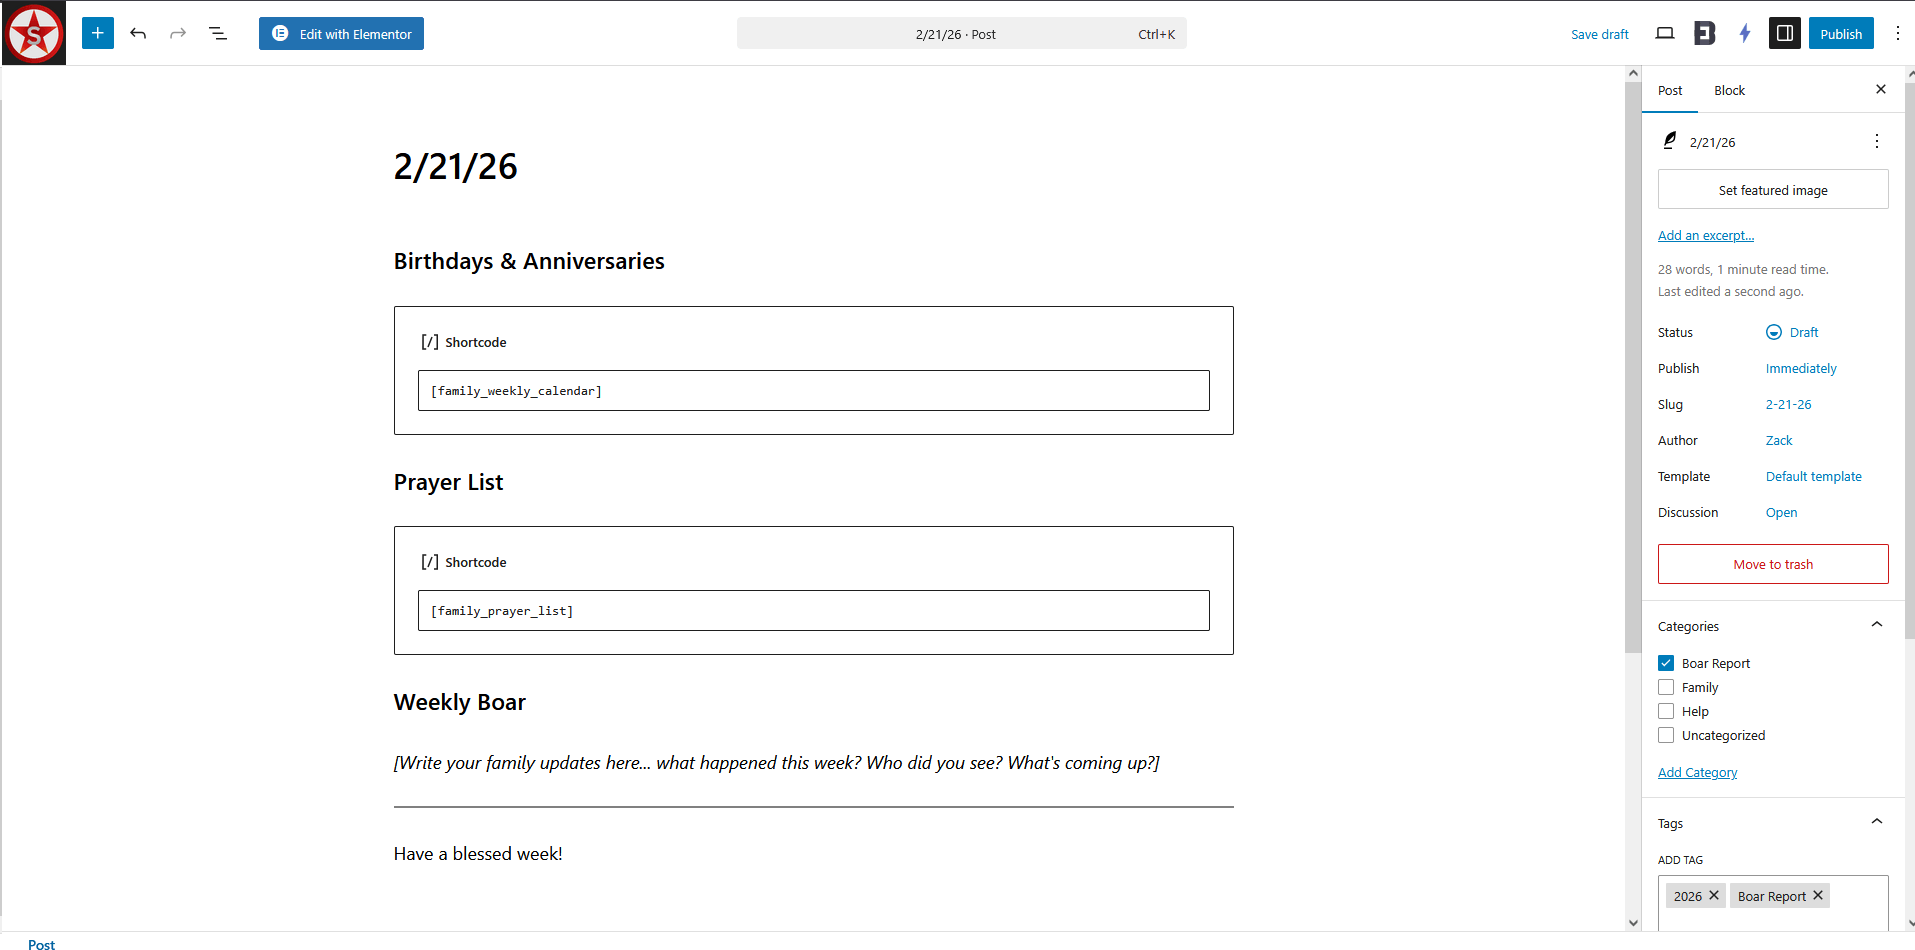
Technically, the only item to draft is the Weekly Boar section. Add your update, hit publish, and technically you’re done.
Adding Photos
If you want to add photos, the easiest way to do this is to add a new block; after the updates section if you hover between the separator bar and the text, a “+” will appear; hit that to bring up the block menu; search “gallery” and select the WordPress gallery (note that if you’re comfortable with WordPress, cleaner galleries are added using FooGallery, you just have to add the gallery first in FooGallery before selecting it in the post).
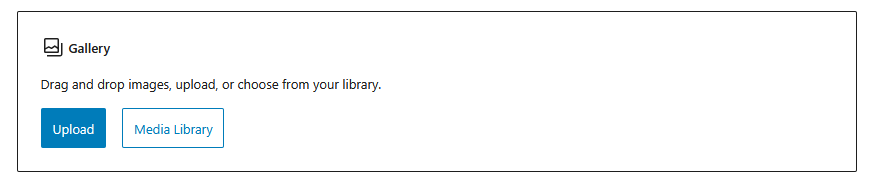
Once that comes up, click “Upload” to drop in your pictures.
Adding a featured image
You don’t have to add a featured image since a placeholder picture with the Schleicher logo will be used, but featured images are fun. To add a featured image, use the “Set featured image” option in the post menu bar on the right-hand side of the page. You can either choose an existing photo from the media library, upload your own (size limits still apply), or choose an image from Instant Images.
Birthday and Anniversary Shortcodes
So, to elaborate a bit on the new birthday and anniversary feature, we built a widget to inject upcoming birthdays and anniversaries directly into a page/post.
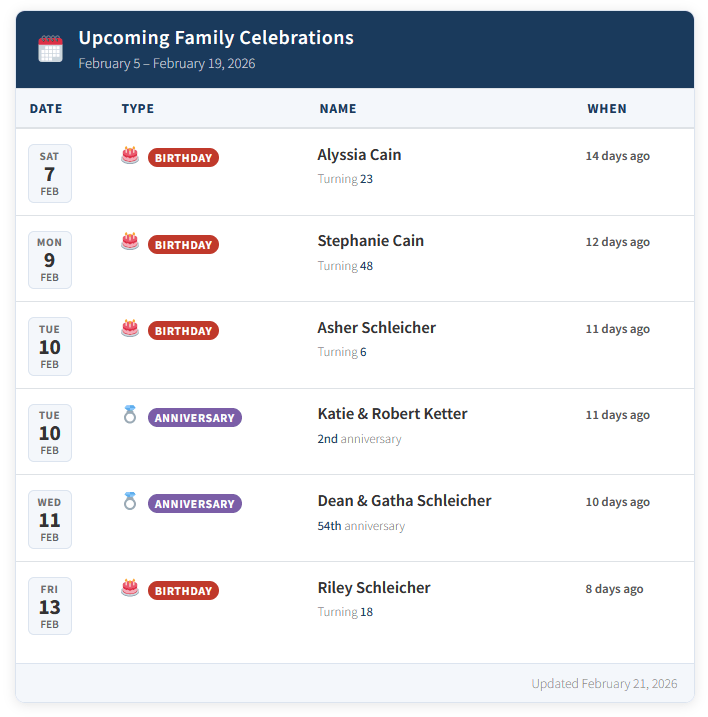
The calendar can be added anywhere using the shortcode
Upcoming Family Celebrations
| Date | Type | Name | When |
|---|---|---|---|
|
Mon
2
Mar
|
Birthday |
Oliver Schleicher
Turning 3
|
13 days ago |
|
Wed
4
Mar
|
Birthday |
Dennis Braden
Turning 61
|
11 days ago |
|
Thu
5
Mar
|
Birthday |
Lisa May
Turning 64
|
10 days ago |
|
Sat
7
Mar
|
Birthday |
Everly Schleicher
Turning 8
|
8 days ago |
|
Sat
7
Mar
|
Anniversary |
Phillip & Kelly Schleicher
2nd anniversary
|
8 days ago |
- days=”x”
- title=”Example Title”
- show_ages=”1″ (or 0 to hide)
So, to show for 30 days out with no ages and a custom title:
[family_weekly_calendar days="30" title="Upcoming Month of Celebrations" show_ages="0"]It’s mobile responsive, and the dates calculate dynamically based on visit date. The “When” column will calculate based on the visit date and either show days remaining or past, or if outside the default look period will display days remaining to next year while the actual look period remains anchored to the original post date.
Note that the plugin hooks directly into the database and the family spreadsheet, so any updates to the sheet automatically pull into the plugin and update in real time.
Static Calendar Shortcode
We’ve also added shortcode to display a static calendar for upcoming celebrations.
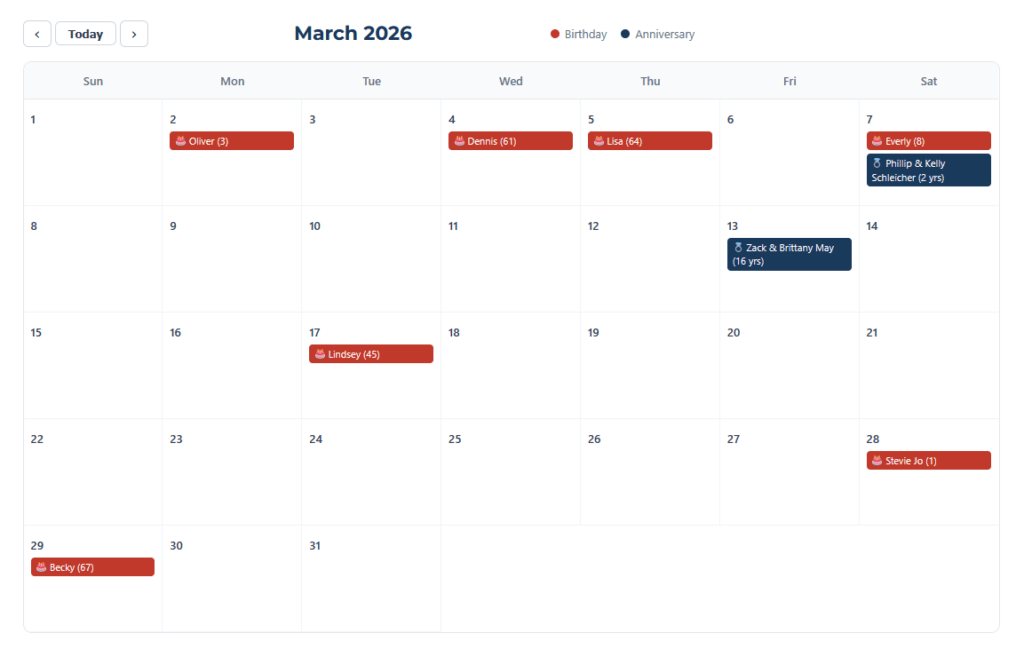
The shortcode for this is
Prayer List
And for our next Q1 update…the prayer list.
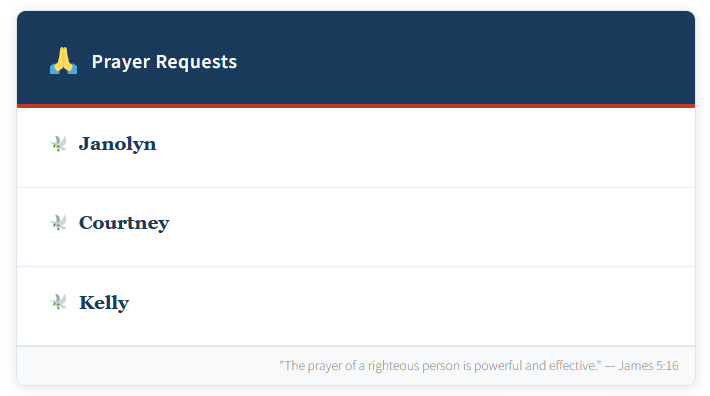
This list is driven from either the admin section or can be updated from the frontend. Like the calendar, it’s driven by shortcode. It can be added with either the
Family Prayer Requests
Family Prayer Requests
- title=”x”
- show_resolved=”1″ (or 0 to hide resolved requests)
- show_dates=”1″ (or 0 to hide date added)
Requests can be worked with from the profile menu when logged in. Go to My Account→Profile→Prayer Requests.
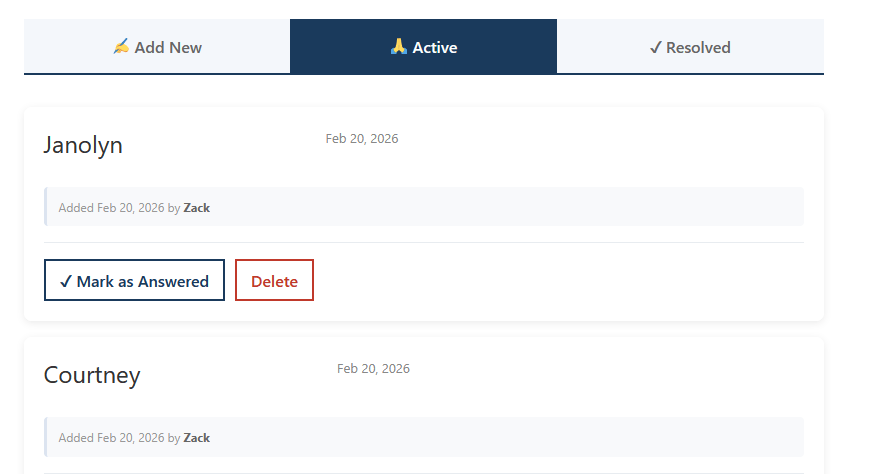
From here requests can be added, resolved, or deleted. Resolved requests can be reactivated.
Newsletter
Last up is Newsletter. All this plugin does is make bulk sending of the weekly update easier. Its pretty simple.
Newsletter works off the Boar Report subscription list. Right now, nobody is on that list that doesn’t manually request it. It works like any other newsletter, though, and once sent it’ll go to everybody on the selected list. Start by opening the “Newsletter” option from the Newsletter icon in the admin dashboard.

This shows all previous newsletter sends and status of current sends. You’ll hit “Add New” to pull up a new newsletter send.
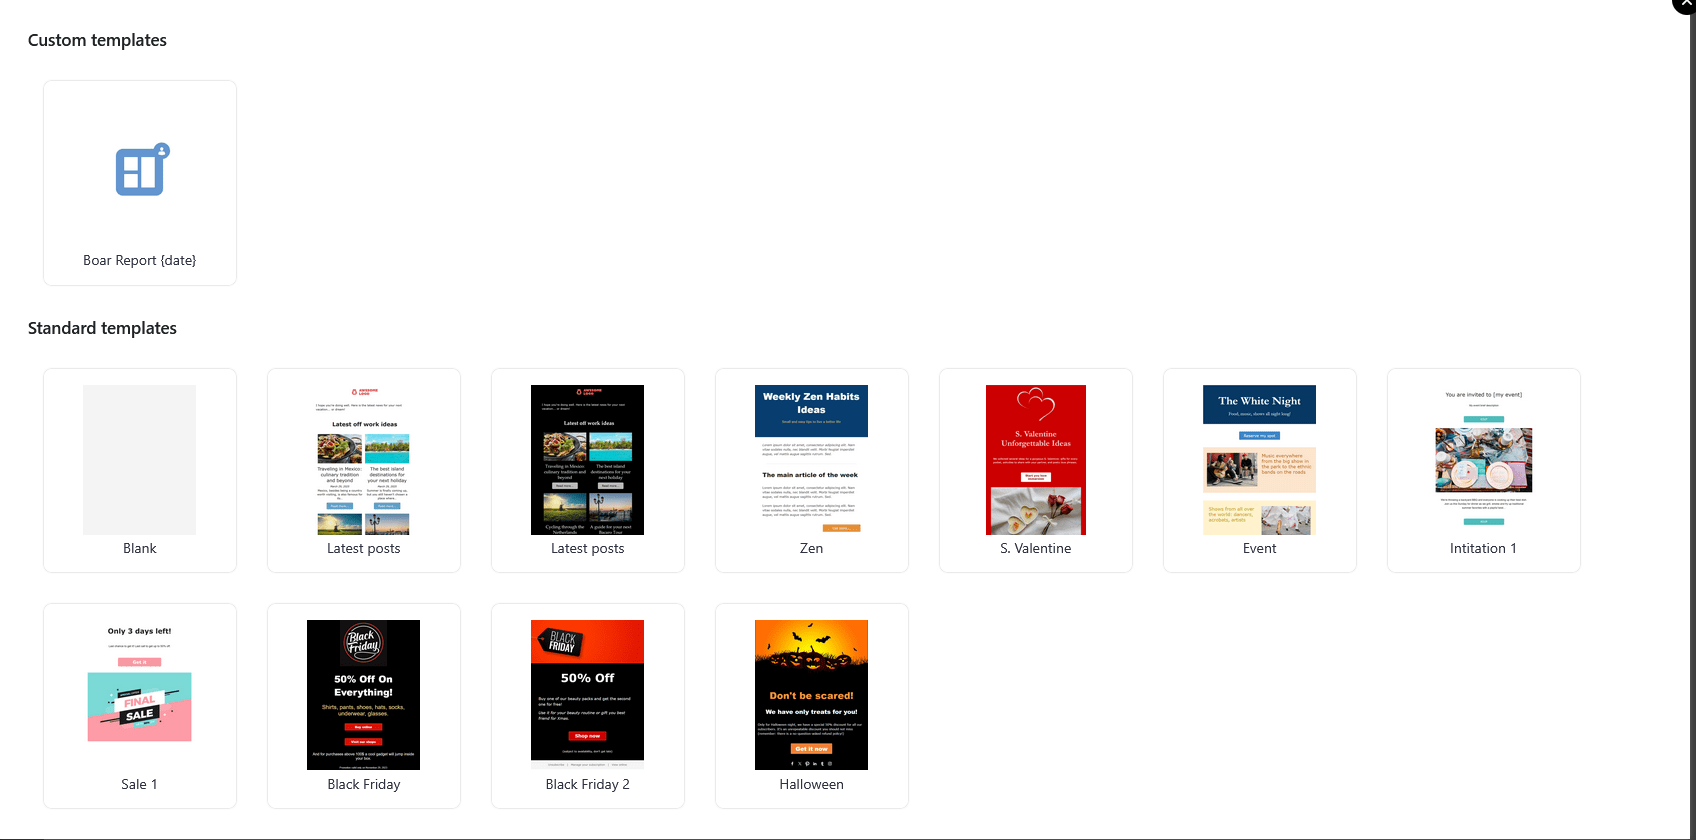
I’ve already created a weekly Boar Report template that adds a title and the current date; select the template. Once the template is selected, unless you want to add something to this week’s letter, you can just hit “Next”.

The important part here is to select the Boar Report list. Don’t worry about anything else; I don’t track location, and the site isn’t indexed so I don’t care about Google Analytics. Leave everything else as-is. Hit “Send”. You’ll get a notice that the program will start batch emailing; it will send emails in batches of 100 every 5 minutes (note you can also schedule it to send later).
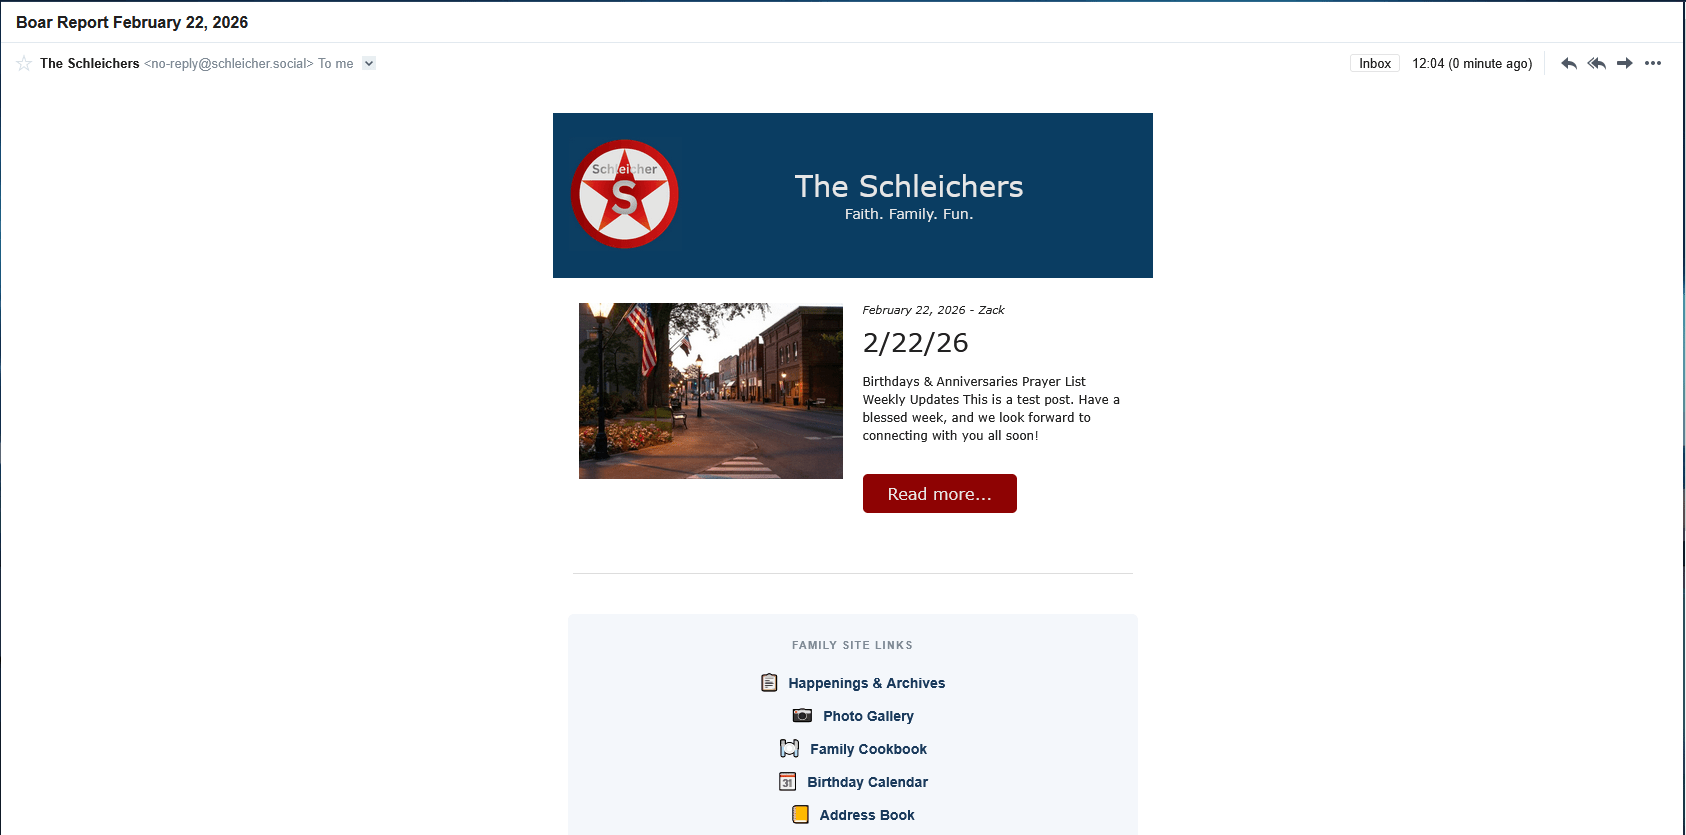
Once sent, it’ll send the latest Boar out! Done! Literally can be done in 2 minutes (or less). It does not include anything more than a link back to the post, since ideally all commenting/discussion is done on the post. Replies go back to the central email (and when time permits…maybe can be added onto the end of the post).
Workflow
So, how to make these work together efficiently? First up, birthdays and anniversaries take care of themselves. Likewise, prayer requests are pretty easy; add, remove, or deactivate from your profile and the plugin takes care of the rest.
For posting, you need to either be a site admin or editor; ask me to bump your site permissions if you’d like to publish. But, for the weekly newsletter publishing (or any post update or news push), just hit the link to add the new weekly post template, fill it in with your update, add a featured image, and hit publish. If you want it to go out, just pull up the Newsletter plugin, select the weekly Boar template, and send.
Responses and Discussion
Rather than reply all in the email, you can use the post discussion/comment bar. If you comment on the post, you’ll get a notification if somebody replies or comments again (in theory…haven’t worked it through its paces yet…). You can still add photos! On mobile, comment like normal, hit the attachment icon, and select your photos (and yes, you can attach multiple). On the desktop, the one catch is that you’ll need to multi-select; that is, have all the photos you want in one place and either Ctrl+Click or Shift+Click to select all the photos at once; you can’t add one, go back, and add another, the plugin just overwrites the uploaded photo.
Preference Manager Updates
Lastly, the final big update is to how notifications are handled with regards to opt-in and opt-out. Previously, it was a hot mess that required a Forminator form, a webhook that was caught by Zapier, and then a really complicated table update Zap that was then read by the notification Zap.
We’ve cut all of that down to a simple on/off toggle form and created a plugin with REST API endpoints that can be called by Zapier. Now, the notification flows simply call the API to query the database for opt-ins; if a record has the opt-in as true for that particular notification, they’ll get the notification. If not, Zapier moves on and checks the next record.

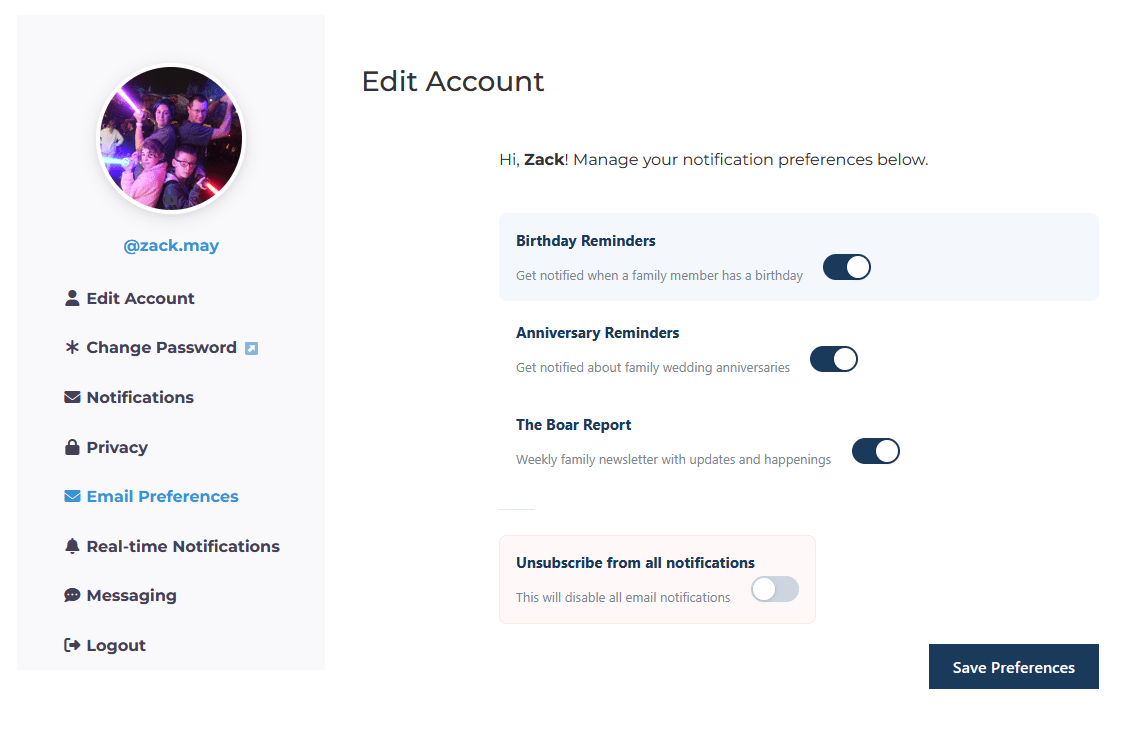
The preference manager location has not changed and can still be accessed from the site footer. Note that it has moved from the profile tabs to your account page if you are logged in (My Account → Account → Email Preferences).
Importantly, for users that are not logged in, you will be able to manage preferences via lookup using your name or email. After that, toggle your notifications on/off based on what you want to receive. Note that the Boar report toggle only sends the weekly Boar. General site posts and updates are not bulk sent.
Adding/Updating Email
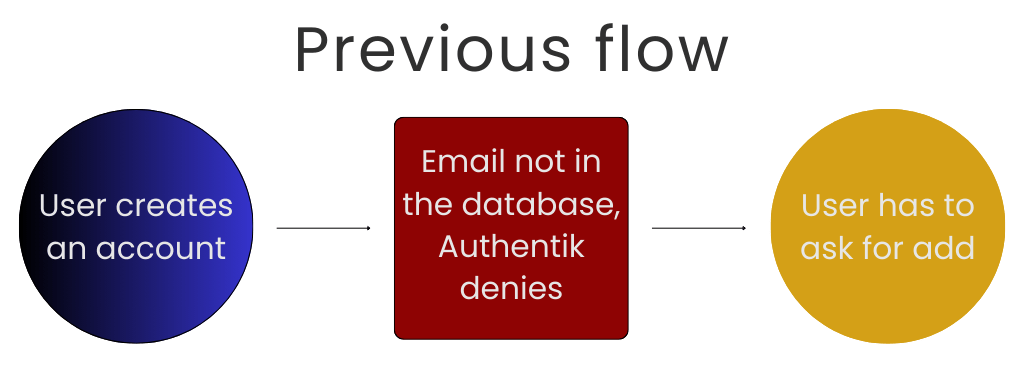
And that leads to the next really big background update. Still in the preference manager, but addressing a pain point. Previously, if you did not have an email in the family database, you could not register for the site or for Schleicher Social without asking someone that had an account to add you into the database. Addressing that chicken-before-the egg problem, if you don’t have an email, you can add it yourself without waiting for someone else to update it.
Now, if Authentik denies your account because you don’t have an email in the database, you can go back to the preference manager to add your email. Search by name and the preference manager queries the database to return possible matches. If more than one match returns, select the best match. You’ll validate your information (birthday and zip that is currently in the table), and then enter an email address. At that point, you can attempt account creation again and Authentik should approve since the email exists.
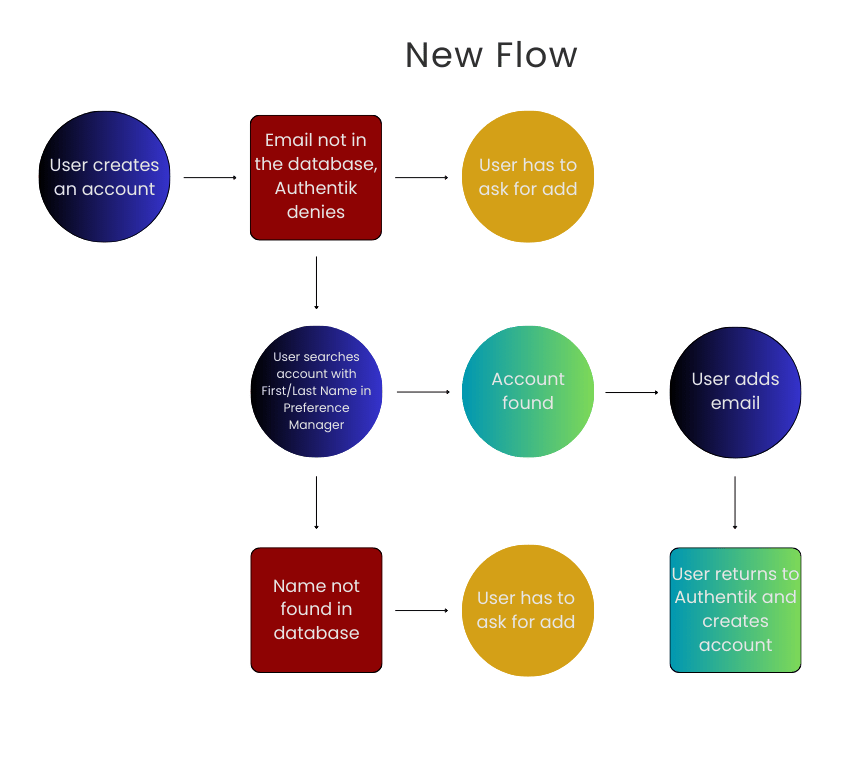
Note that if your name is not found in the database or your validation answers do not match you’ll have to reach out for an update.
Callouts for Email updates
The database is the source of truth for information. As such, validation functions will always fallback to the database for checks. One key callout here is updates to the table may not always sync back to other parts of the site; namely, if you update an email directly it does not push to Authentik or WordPress. Updating in Authentik will always sync backwards to the database.
And that’s it…for now
For now, that’s it for updates to site functionality. More will likely come as I run across bugs or additional pain points, but for now, if you run across an issue, let me know so I can remedy it.
Author: Zack
Pharmacist, tech guy, gamer, fixer. Good at a little bit of everything.